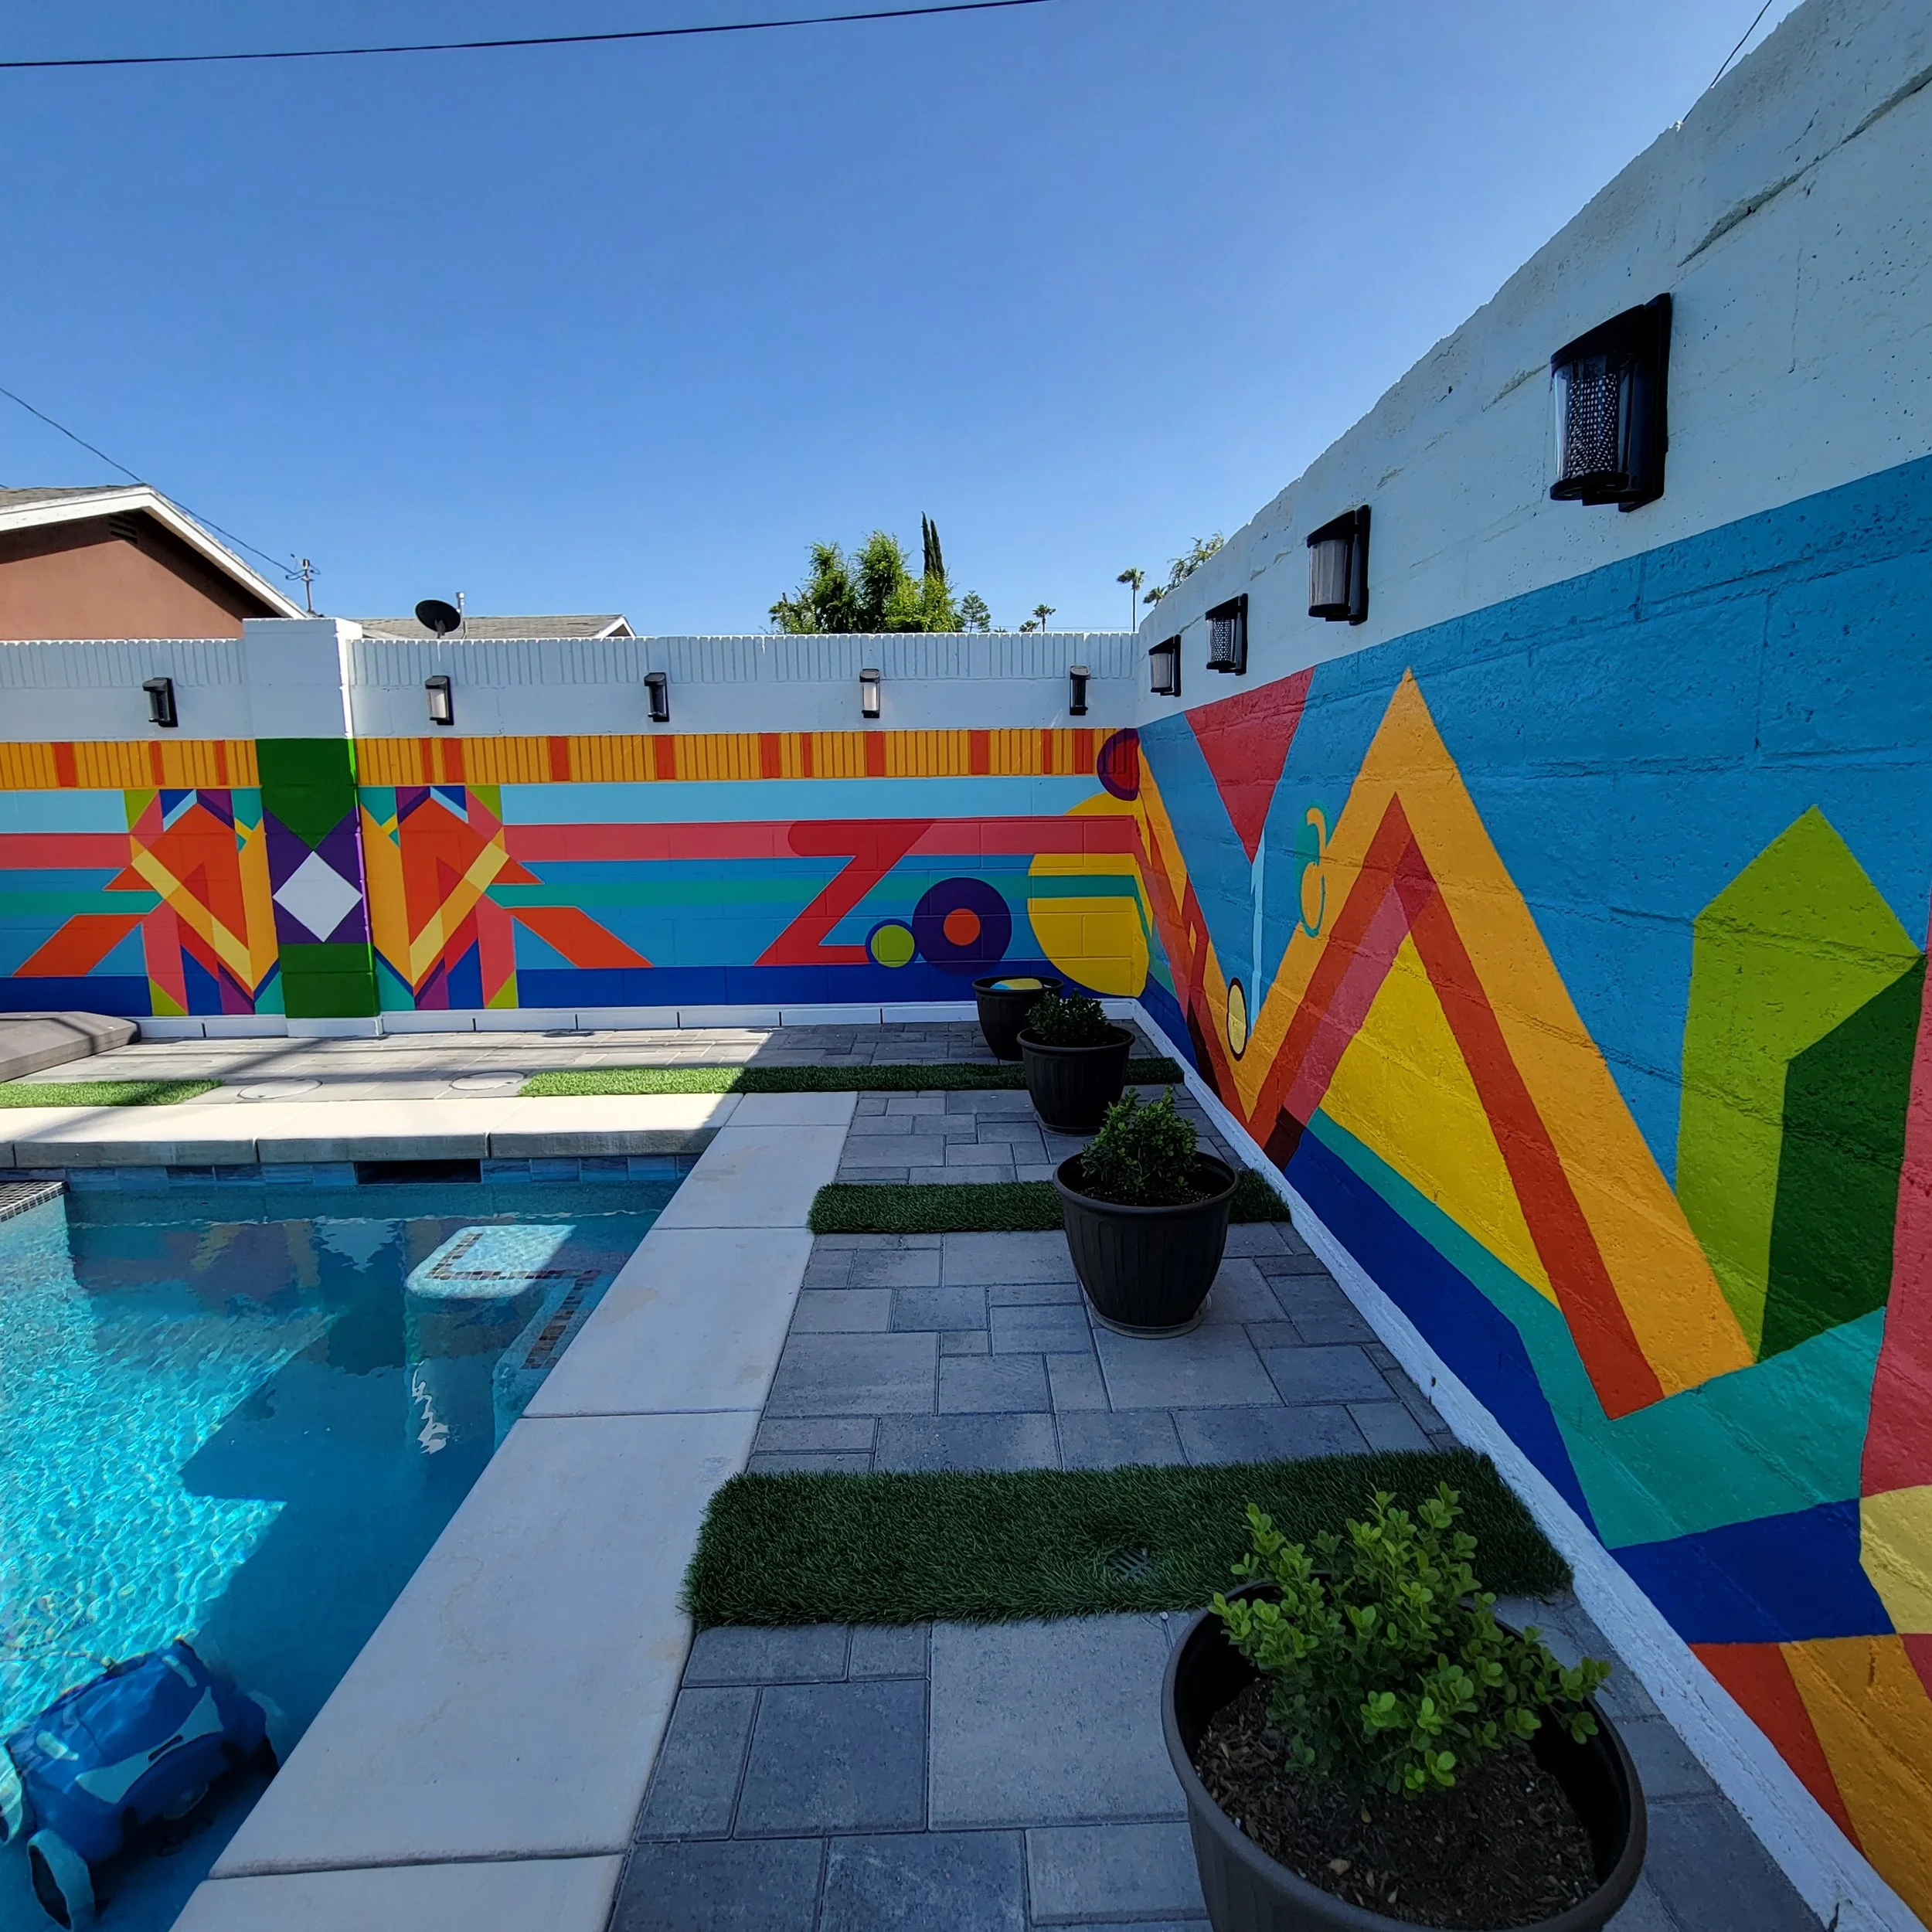
7 Mural Planning Tips & Tools
If you can paint on a canvas, you can surely paint on a wall! BUT it does take some research, practice, experience, and confidence to transition. Painting murals is fun, and also a very detailed undertaking. With the right plan and tools creating a mural can be an efficient and satisfying experience. I wanted to give you 7 tips and tools for painting murals if you are just beginning.
When planning to quote and paint a wall, keep in mind the texture, size, visibility, and condition of the wall. Ask yourself these questions: Is the wall indoor or outdoor? Does it sit in full sun or shade? Is the texture of the wall stucco, wood, metal, or brick? Is the condition of the wall in good standing, or does it need to be sanded, or patched up because of holes? Does it need to be power washed or painted with a primer? Will the owner primer the wall before you paint, or do you need to? What level of artistry is needed? What are the measurements of the the wall length and width? Will the wall be in a high traffic area? Will it need to be finished with an anti-graffiti coat? Will you need a lift or scaffolding to paint higher? Is it a community mural that includes volunteer participation and needs the management of others and marketing? All these questions will help guide you to creating a clear estimate.
Pre-sketch and design a mural in advance and create a photo mock of the wall. Before I throw any paint on a wall, I usually offer my customers 1-3 rounds of sketches with a mock up photo of my design. I do this so for one, the customer and I are on the same page as far as our final look for wall, and two, I can project or graph the image onto the wall and trace the design out. This will save the customer and I both time and any guesswork. I always want to keep a clear line of communication open for any changes before painting. But, the beauty of painting with acrylic/latex water-based paint is that it can always be painted over and over though too!
Price a mural based off your current experience, artistry, past work, and what other muralists may be charging in your area or at your skill level. I usually price a mural by its’ square footage and consider the design difficulty, detail and artistry. I also take into consideration everything mentioned in number two above because they will really give you an idea of how much time and effort you will be pushing out.
Here are a few tools to help with efficiency when painting.
- Scaffolding or a lift for high parts of the wall.
- Paint gun for spraying more coverage on stucco or brick walls that normally take forever to paint by brush or roller.
- Projector for projecting your design image onto a wall. Hook it up to your laptop or ipad.
- Design programs like Adobe Illustrator, Photoshop, or CAD. I used CAD for planning out two mural designs because it helped me figure out the exact measurements and spacing for elements in the mural.
- Cut your own stencils out of cardboard or have them printed to be cut at a local print shop(or online source) if you are painting a repetitive pattern or lettering.
- Have a level/ruler on hand for straight lines or use a chalk line reel to snap a straight line across a wall. There are also laser levels as well, but need to be used in an area without a lot of light to see.
- Reuse old towels and cloths for clean up. I’ll usually ask around from family or friends or check my own stash for old towels and rags.
Lets throw some paint knowledge around! Know how much coverage a quart, gallon, or sample size paint can cover when planning how much to buy to save yourself money and storage for after. Also, keep in mind what sheen to use on a wall surface and room, and if you need interior or exterior. The top few I have used are from my local hardware store and they’re either matte, satin, or semi-gloss. You can ask the paint department what exactly you need for whatever space you’re planning to paint. More glossy sheens are easier to wipe clean but also can reflect light. They’re mostly used in interior spaces like kitchens and bathrooms, or wherever there will be moisture or high traffic areas.
Having a clear coat put on after a mural is finished is a personal choice(or if requested by the owner), but not mandatory. For exterior murals, I use house paint from my local hardware store that has a mix of paint and primer and is meant for the elements outdoors. Think about it this way, when house painters paint houses, do they clear coat the whole house afterwards? Most house paint can last many years. I have used a clear coat like Mural Colors and World’s Best Graffiti Cover on a grocery market mural because the community was worried it may get graffiti on it later so they wanted to protect it. Just be sure to put into your estimate personal protective gear (PPG) and a ventilator mask because it will be needed when handling some clear coats.
Search for a local hazardous waste management facility in your city to dispose old paints, paint water, and other liquids or materials that are toxic to the environment(especially paint thinners, graffiti coatings, acetone and clear coats). In my city we have EDCO where you can drive up and drop off any hazardous materials. You can put liquids in 5 gallon buckets with lids, or blue 5 gallon water jugs, or purchase empty silver 1 gallon paint cans from your local hardware store. Some liquids likes acetone for example, need to be stored in metal. Try to be conscious that you’re not pouring stuff out onto concrete, soil, or grass because they can eventually end up contaminating our watershed (ground water, river beds, oceans, etc.)
Alright! Well we went through some pretty important tips and tools for starting and painting a mural. I hope you feel a little more confident now! If you have any questions or ideas please feel free to email me at amytanakaart@gmail.com, or message me on Instragram @amytanaka_art. The more info and experiences we share, the better and more efficient and successful we become. Good luck and happy painting!


